Prerequisites
- Operating System: CentOS 7.9
- Memory: 8 GB
- CPU: 4 cores
- Disk: 100 GB
Download Installation Packages
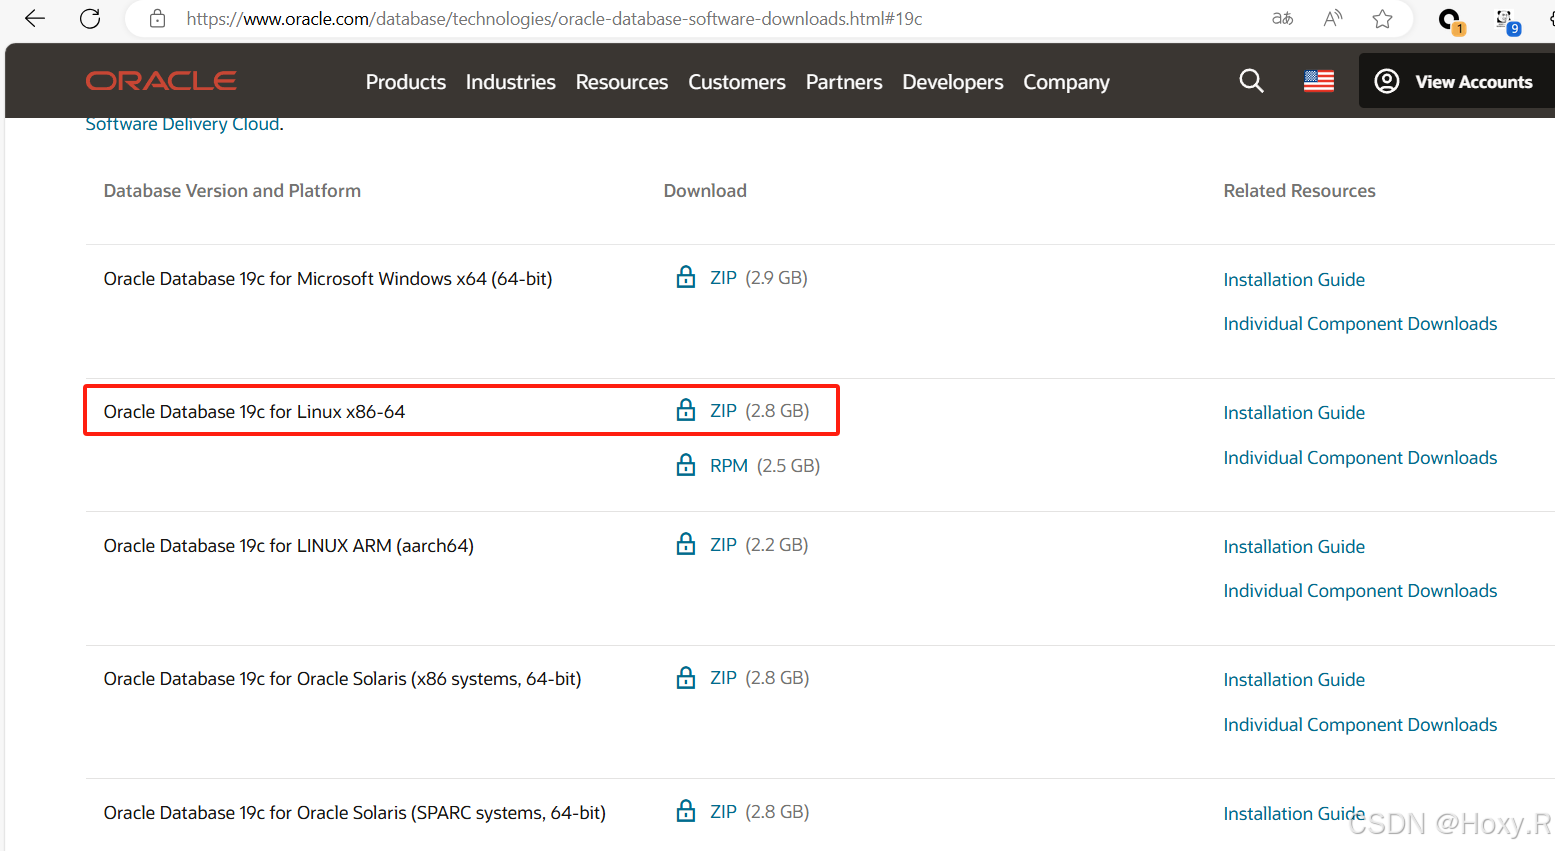
1. Download Oracle 19c Database Software
https://www.oracle.com/database/technologies/oracle-database-software-downloads.html#19c
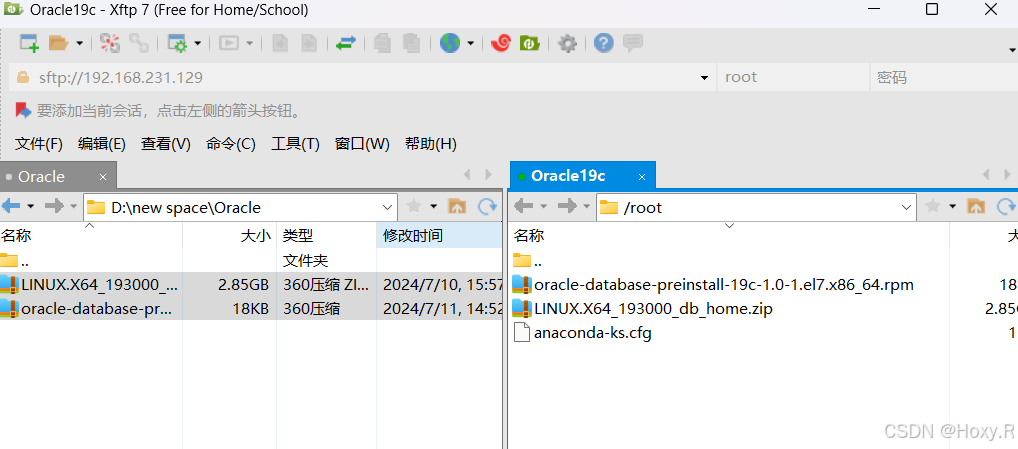
2. Download Oracle 19c Pre-install RPM
3. Transfer Files to Linux
Step 1: Install Dependencies
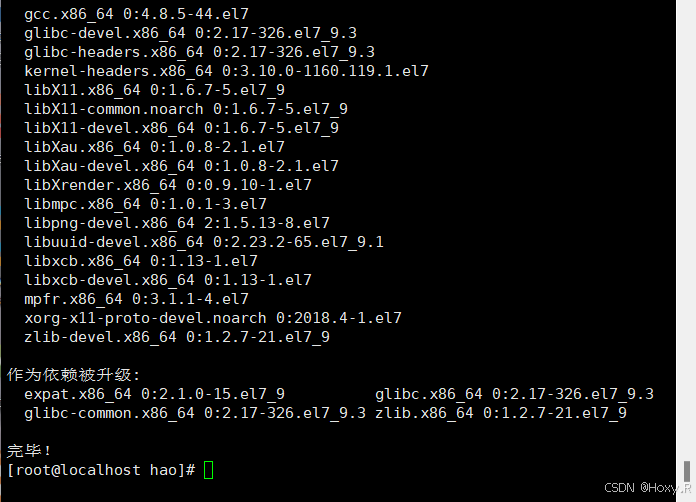
yum install -y unzip compat-libcap1 compat-libstdc++-33 gcc-c++ ksh libaio-devel libstdc++-devel elfutils-libelf-devel fontconfig-devel libXrender-devel rlwrap
Step 2: Create User and Groups
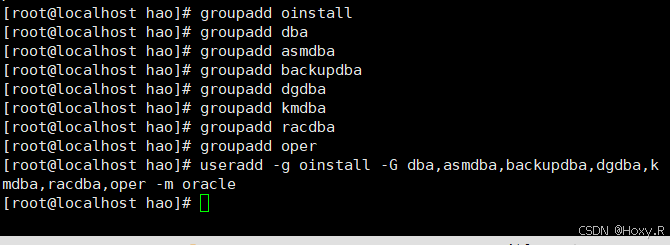
groupadd oinstall
groupadd dba
groupadd asmdba
groupadd backupdba
groupadd dgdba
groupadd kmdba
groupadd racdba
groupadd oper
useradd -g oinstall -G dba,asmdba,backupdba,dgdba,kmdba,racdba,oper -m oracle
Step 3: Modify Linux Kernel Parameters
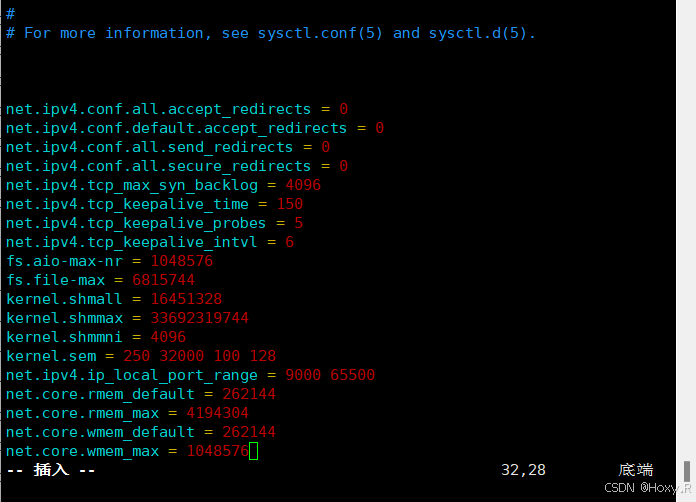
Edit /etc/sysctl.conf and add the following:
net.ipv4.conf.all.accept_redirects = 0
net.ipv4.conf.default.accept_redirects = 0
net.ipv4.conf.all.send_redirects = 0
net.ipv4.conf.all.secure_redirects = 0
net.ipv4.tcp_max_syn_backlog = 4096
net.ipv4.tcp_keepalive_time = 150
net.ipv4.tcp_keepalive_probes = 5
net.ipv4.tcp_keepalive_intvl = 6
fs.aio-max-nr = 1048576
fs.file-max = 6815744
kernel.shmall = 16451328
kernel.shmmax = 33692319744
kernel.shmmni = 4096
kernel.sem = 250 32000 100 128
net.ipv4.ip_local_port_range = 9000 65500
net.core.rmem_default = 262144
net.core.rmem_max = 4194304
net.core.wmem_default = 262144
net.core.wmem_max = 1048576
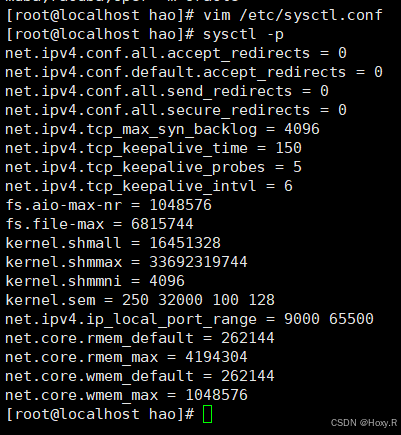
Run sysctl -p to apply the changes.
Step 4: Modify User Limits
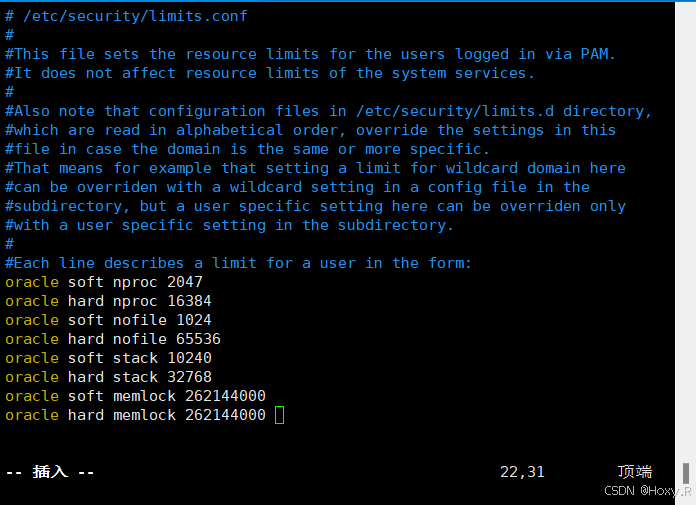
Edit /etc/security/limits.conf and add:
oracle soft nproc 2047
oracle hard nproc 16384
oracle soft nofile 1024
oracle hard nofile 65536
oracle soft stack 10240
oracle hard stack 32768
oracle soft memlock 262144000
oracle hard memlock 262144000
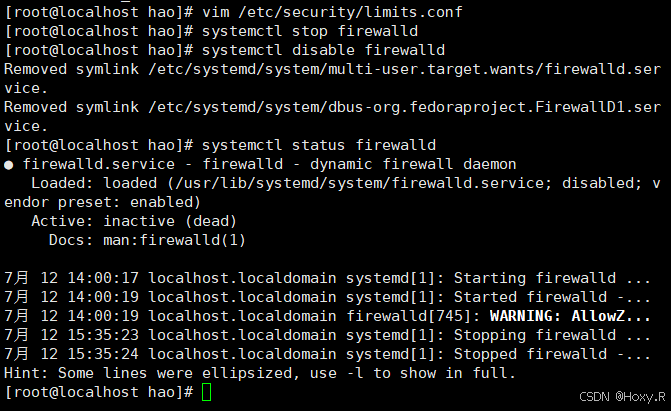
Step 5: Disable Firewall and SELinux
systemctl stop firewalld
systemctl disable firewalld
systemctl status firewalld

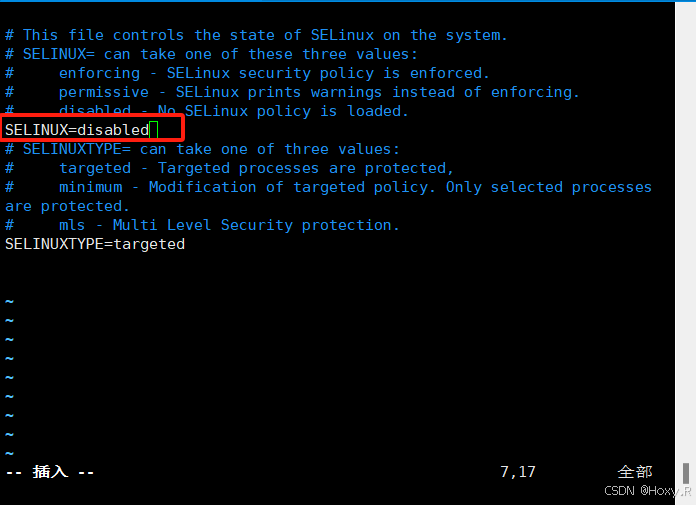
vim /etc/selinux/config
# Set SELINUX=disabled
Step 6: Create Directories and Extract Installation Package
mkdir -p /data/u01/app/oracle/product/19c/dbhome_1
mkdir -p /data/u01/app/oraInventory
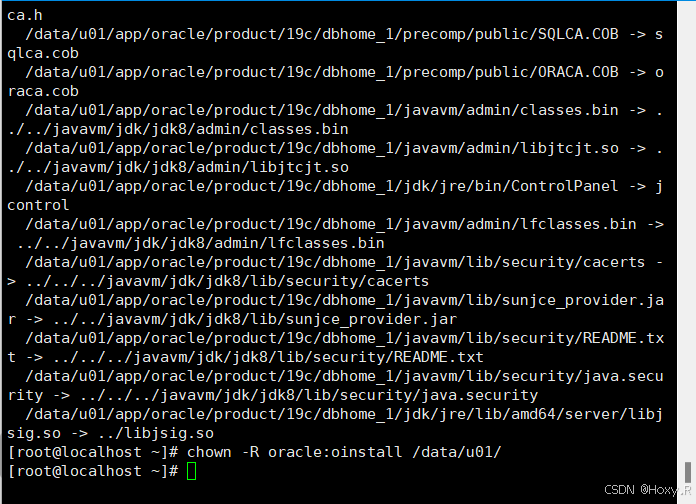
chown -R oracle:oinstall /data/u01

cd /root
unzip LINUX.X64_193000_db_home.zip -d /data/u01/app/oracle/product/19c/dbhome_1/
chown -R oracle:oinstall /data/u01/
Step 7: Set Environment Variables
Edit /home/oracle/.bash_profile and add:
export ORACLE_SID=orcl19c
export ORACLE_HOSTNAME=`hostname -s`
export ORACLE_BASE=/data/u01/app/oracle
export ORACLE_HOME=$ORACLE_BASE/product/19c/dbhome_1
export LD_LIBRARY_PATH=$ORACLE_HOME/lib:$ORACLE_HOME/rdbms/lib:$ORACLE_HOME/network/lib:/lib:/usr/lib
export CLASSPATH=$ORACLE_HOME/jlib:$ORACLE_HOME/rdbms/jlib:$ORACLE_HOME/network/jlib
export TMP=/tmp
export TMPDIR=$TMP
export PATH=$ORACLE_HOME/bin:$ORACLE_HOME/OPatch:$HOME/.local/bin:$HOME/bin:$PATH
export EDITOR=vi
export TNS_ADMIN=$ORACLE_HOME/network/admin
export ORACLE_PATH=.:$ORACLE_BASE/dba_scripts/sql:$ORACLE_HOME/rdbms/admin
export SQLPATH=$ORACLE_HOME/sqlplus/admin
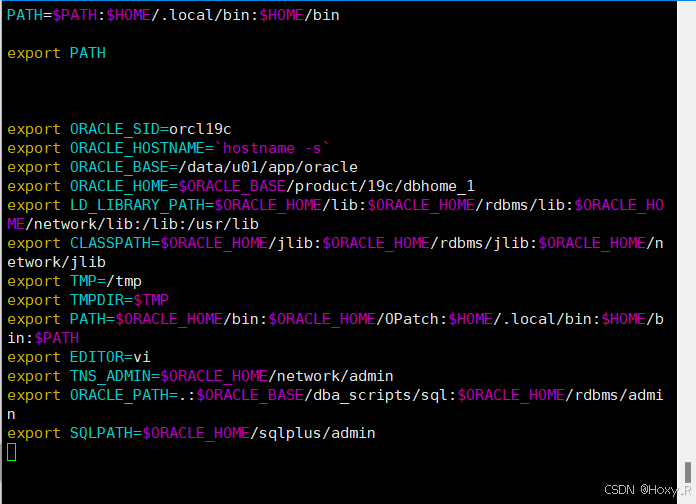
Save and run source /home/oracle/.bash_profile to apply.
Step 8: Install Oracle Database Software
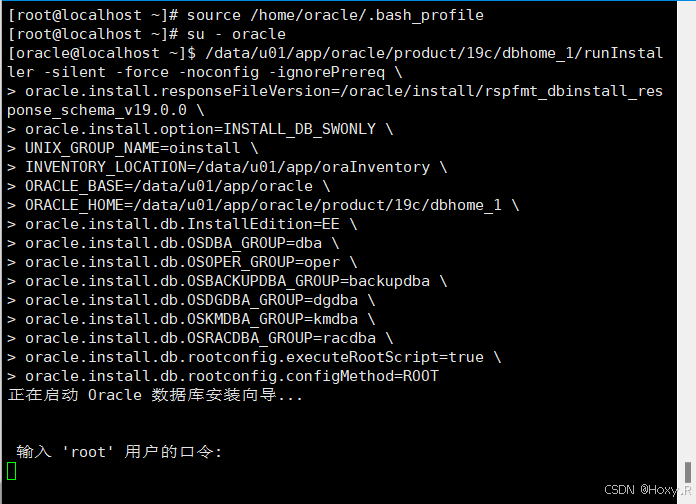
su - oracle

/data/u01/app/oracle/product/19c/dbhome_1/runInstaller -silent -force -noconfig -ignorePrereq \
oracle.install.responseFileVersion=/oracle/install/rspfmt_dbinstall_response_schema_v19.0.0 \
oracle.install.option=INSTALL_DB_SWONLY \
UNIX_GROUP_NAME=oinstall \
INVENTORY_LOCATION=/data/u01/app/oraInventory \
ORACLE_BASE=/data/u01/app/oracle \
ORACLE_HOME=/data/u01/app/oracle/product/19c/dbhome_1 \
oracle.install.db.InstallEdition=EE \
oracle.install.db.OSDBA_GROUP=dba \
oracle.install.db.OSOPER_GROUP=oper \
oracle.install.db.OSBACKUPDBA_GROUP=backupdba \
oracle.install.db.OSDGDBA_GROUP=dgdba \
oracle.install.db.OSKMDBA_GROUP=kmdba \
oracle.install.db.OSRACDBA_GROUP=racdba \
oracle.install.db.rootconfig.executeRootScript=true \
oracle.install.db.rootconfig.configMethod=ROOT
Step 9: Create Database Instance
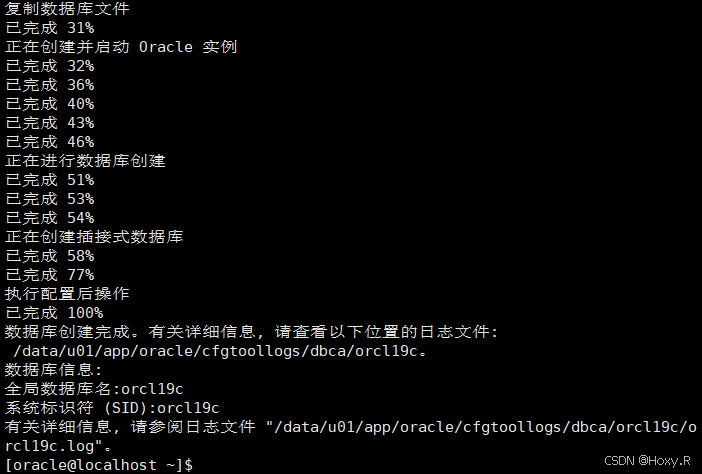
dbca -silent -createDatabase -templateName General_Purpose.dbc -responseFile NO_VALUE \
-gdbname orcl19c -sid orcl19c \
-createAsContainerDatabase TRUE \
-numberOfPDBs 1 \
-pdbName orclpdb2 \
-pdbAdminPassword oracle12334 \
-sysPassword oracle12334 -systemPassword oracle12334 \
-datafileDestination '/data/u01/app/oracle/oradata' \
-recoveryAreaDestination '/data/u01/app/oracle/flash_recovery_area' \
-redoLogFileSize 50 \
-storageType FS \
-characterset ZHS16GBK -nationalCharacterSet AL16UTF16 \
-sampleSchema true \
-totalMemory 2048 \
-databaseType OLTP \
-emConfiguration NONE
Step 10: Configure Listener
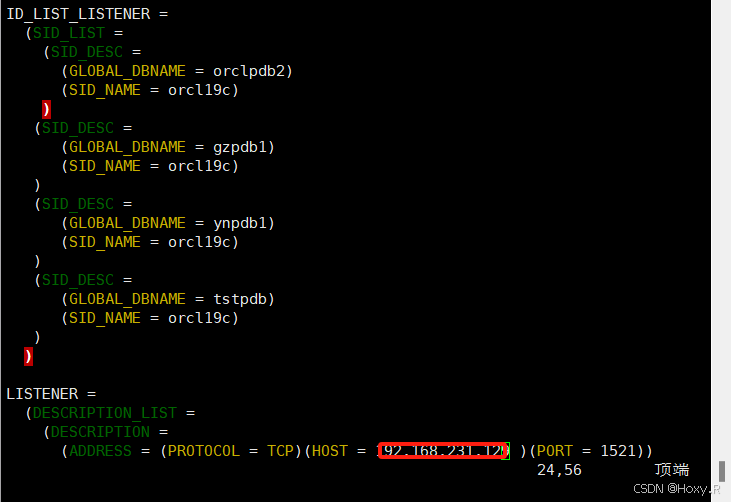
Edit /data/u01/app/oracle/product/19c/dbhome_1/network/admin/listener.ora:
SID_LIST_LISTENER =
  (SID_LIST =
    (SID_DESC =
      (GLOBAL_DBNAME = orclpdb2)
      (SID_NAME = orcl19c)
    )
   (SID_DESC =
      (GLOBAL_DBNAME = gzpdb1)
      (SID_NAME = orcl19c)
   )
   (SID_DESC =
      (GLOBAL_DBNAME = ynpdb1)
      (SID_NAME = orcl19c)
   )
   (SID_DESC =
      (GLOBAL_DBNAME = tstpdb)
      (SID_NAME = orcl19c)
   )
  )

LISTENER =
  (DESCRIPTION_LIST =
    (DESCRIPTION =
      (ADDRESS = (PROTOCOL = TCP)(HOST = oracle19c )(PORT = 1521))
    )
  )

ADR_BASE_LISTENER = /data1/u01/app/oracle
Change the HOST value to your own hostname or IP address.
Start the listener:
lsnrctl start
Start Database
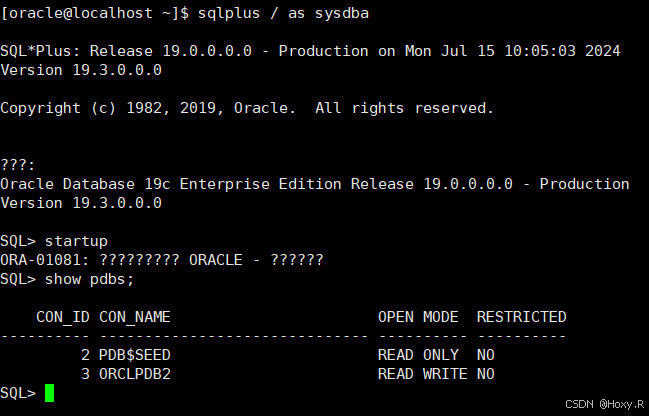
sqlplus / as sysdba
startup
show pdbs;