Prerequisites
This is a personal summary of my experience learning the RuoYi-Cloud framework. There may be errors and omissions. If this fails to help you, please seek assistance from other bloggers.
Project File
RuoYi-Cloud: 🎉 A distributed microservice architecture permission management system based on Spring Boot, Spring Cloud & Alibaba, also available in Vue3 version.
Runtime Environment
- Windows 11 Home Edition
- Node.js 14.21.3, npm 6.14.8
- Apache Maven 3.9.6
- Redis 7.2.5 (Windows x64)
- Nacos 2.2.3
- JDK 17.0.10
- MySQL 8.0.38
- Visual Studio Code
- IntelliJ IDEA (Community Edition requires Spring Boot Helper plugin) or Visual Studio Code
Getting Started
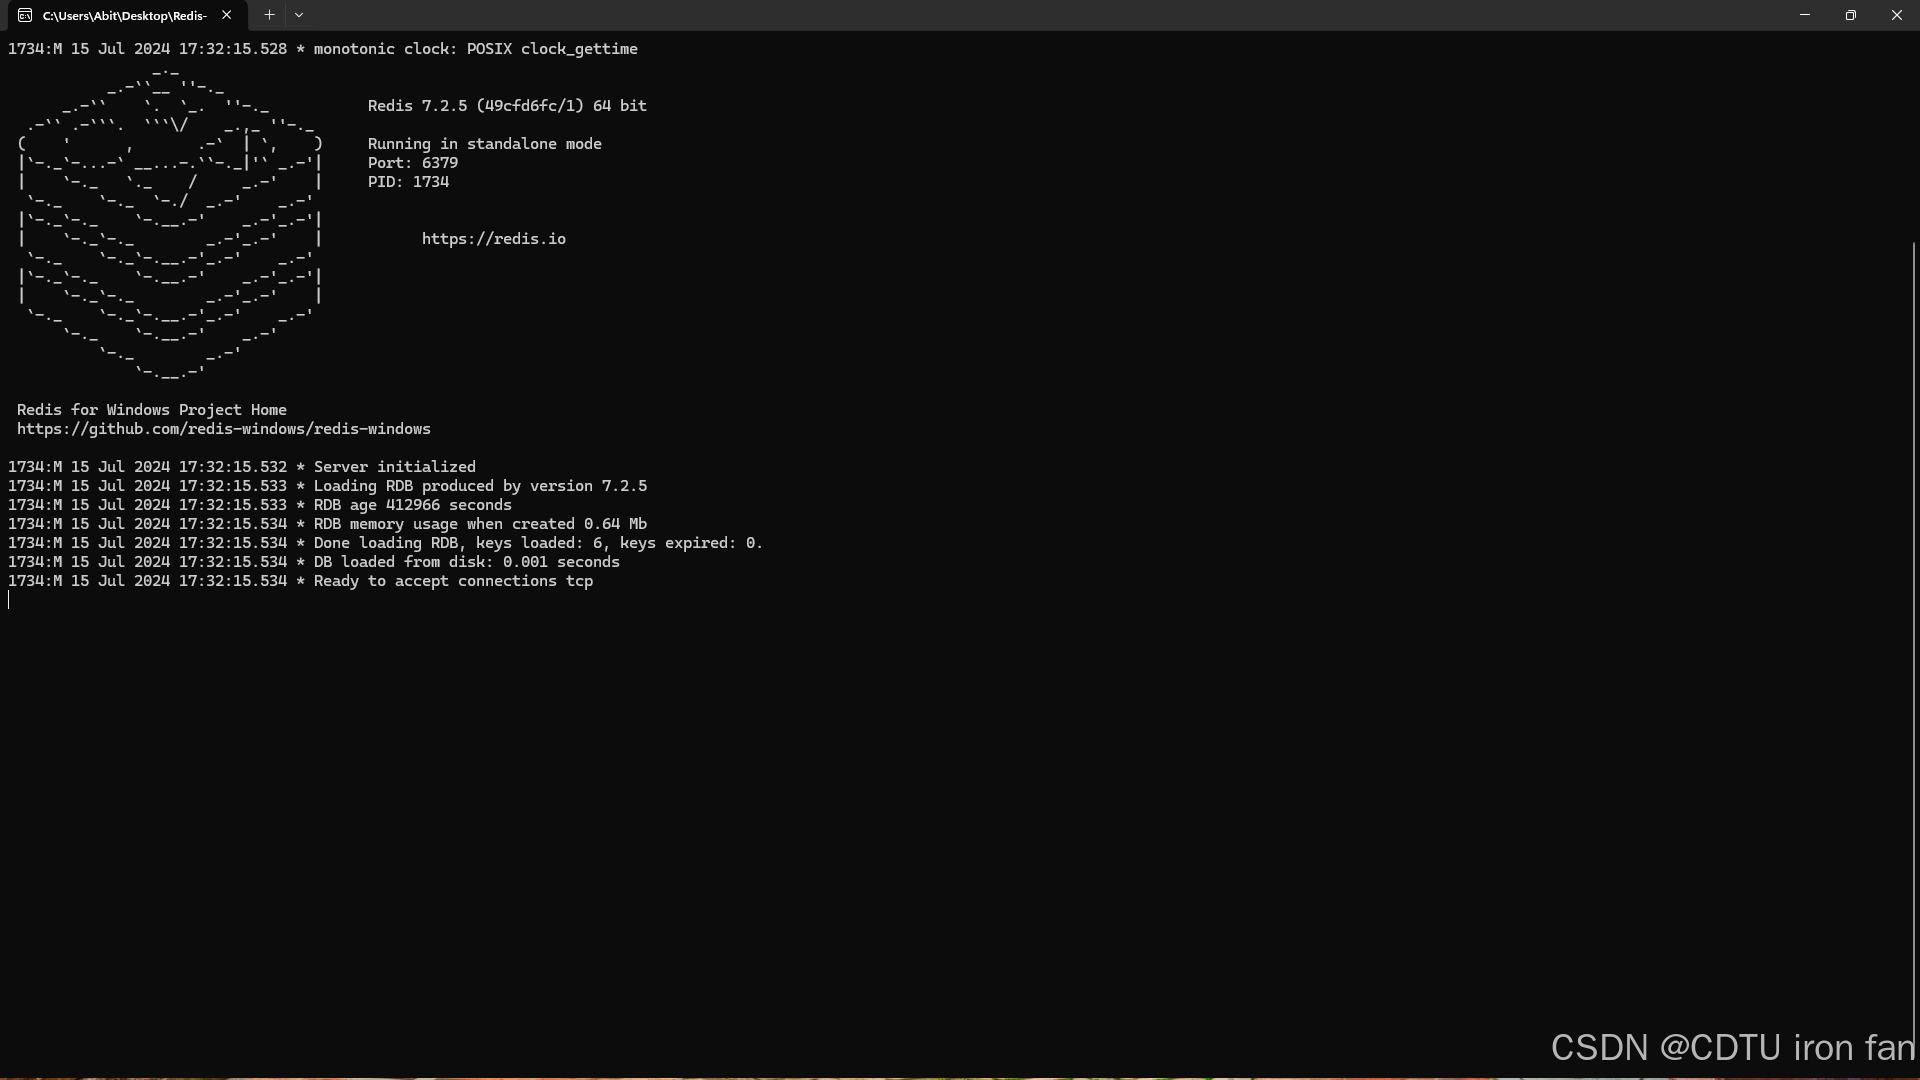
1. Start Redis
Navigate to the Redis installation directory and run redis-server.exe. For example:
Redis-7.2.5-Windows-x64-cygwin-with-Service\redis-server.exe
2. Create Database
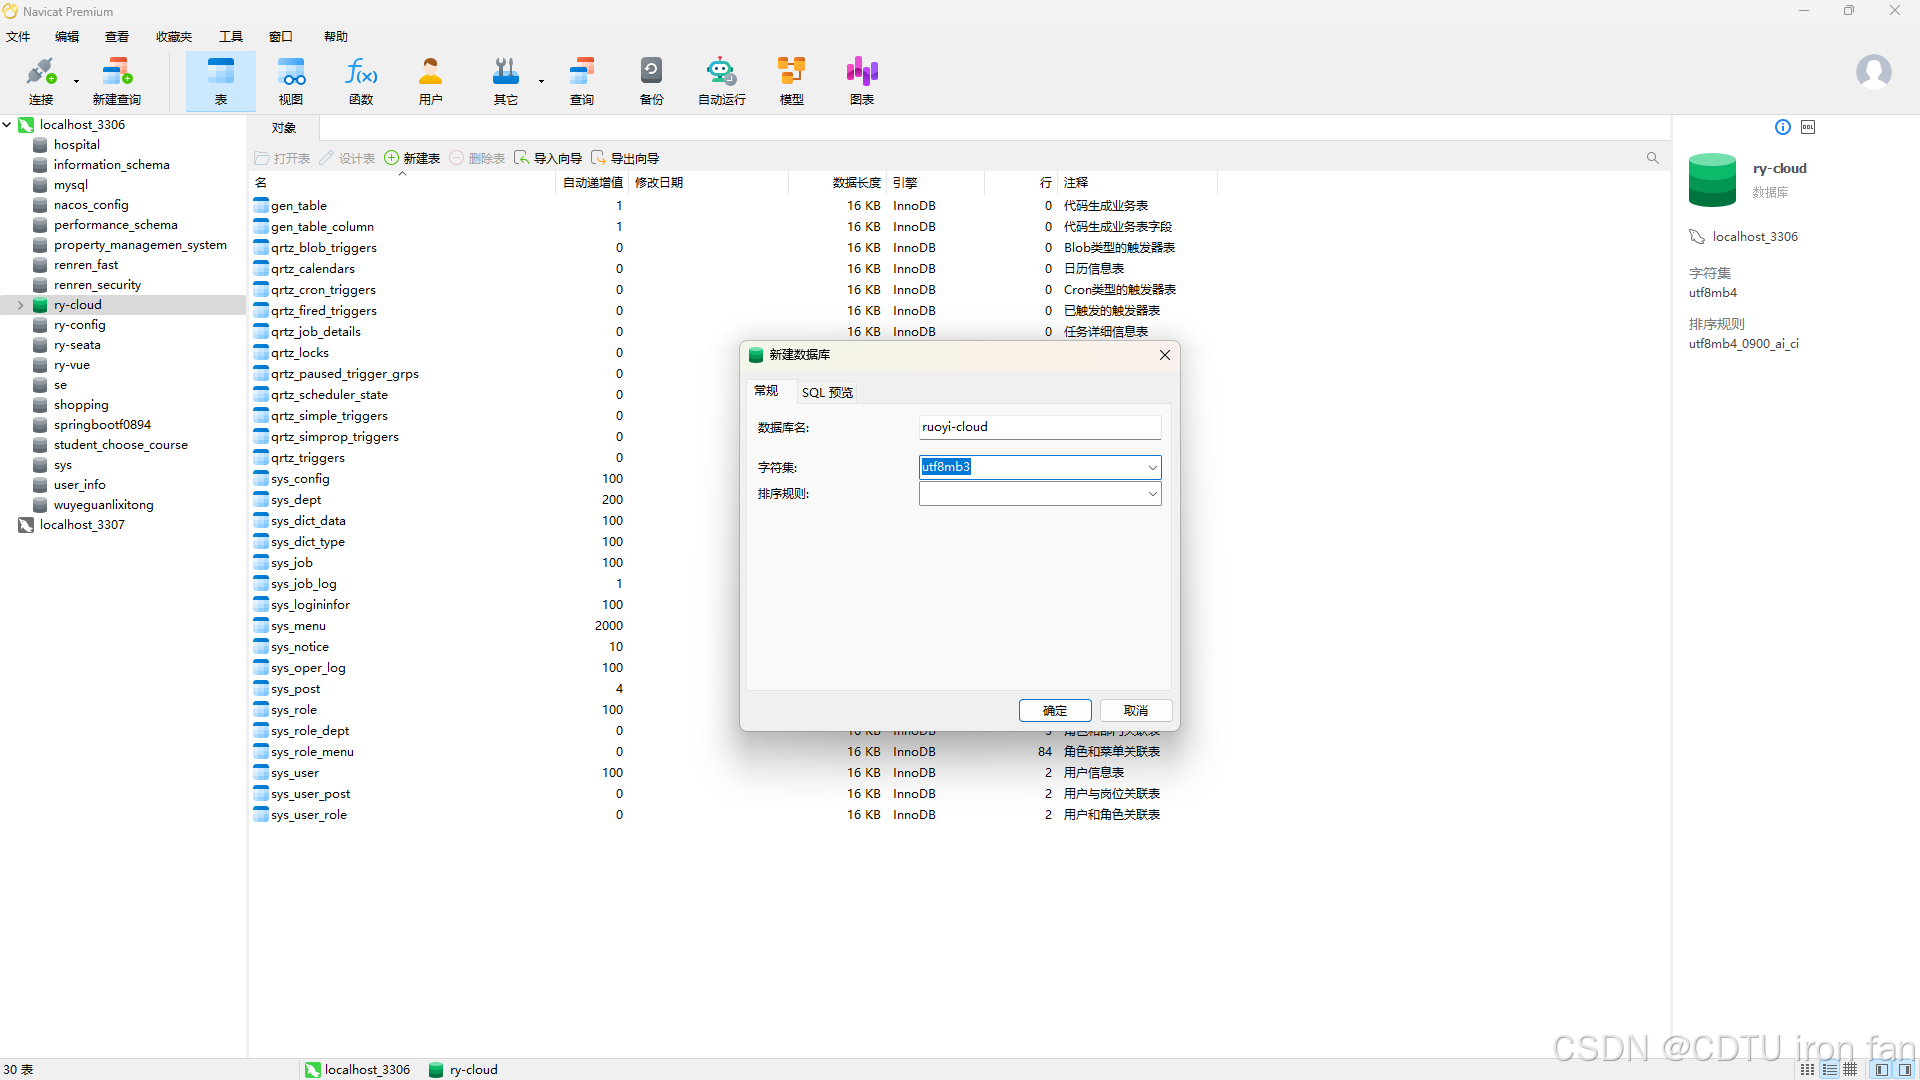
Open Navicat and create a new database named ry-cloud.
3. Import SQL Files
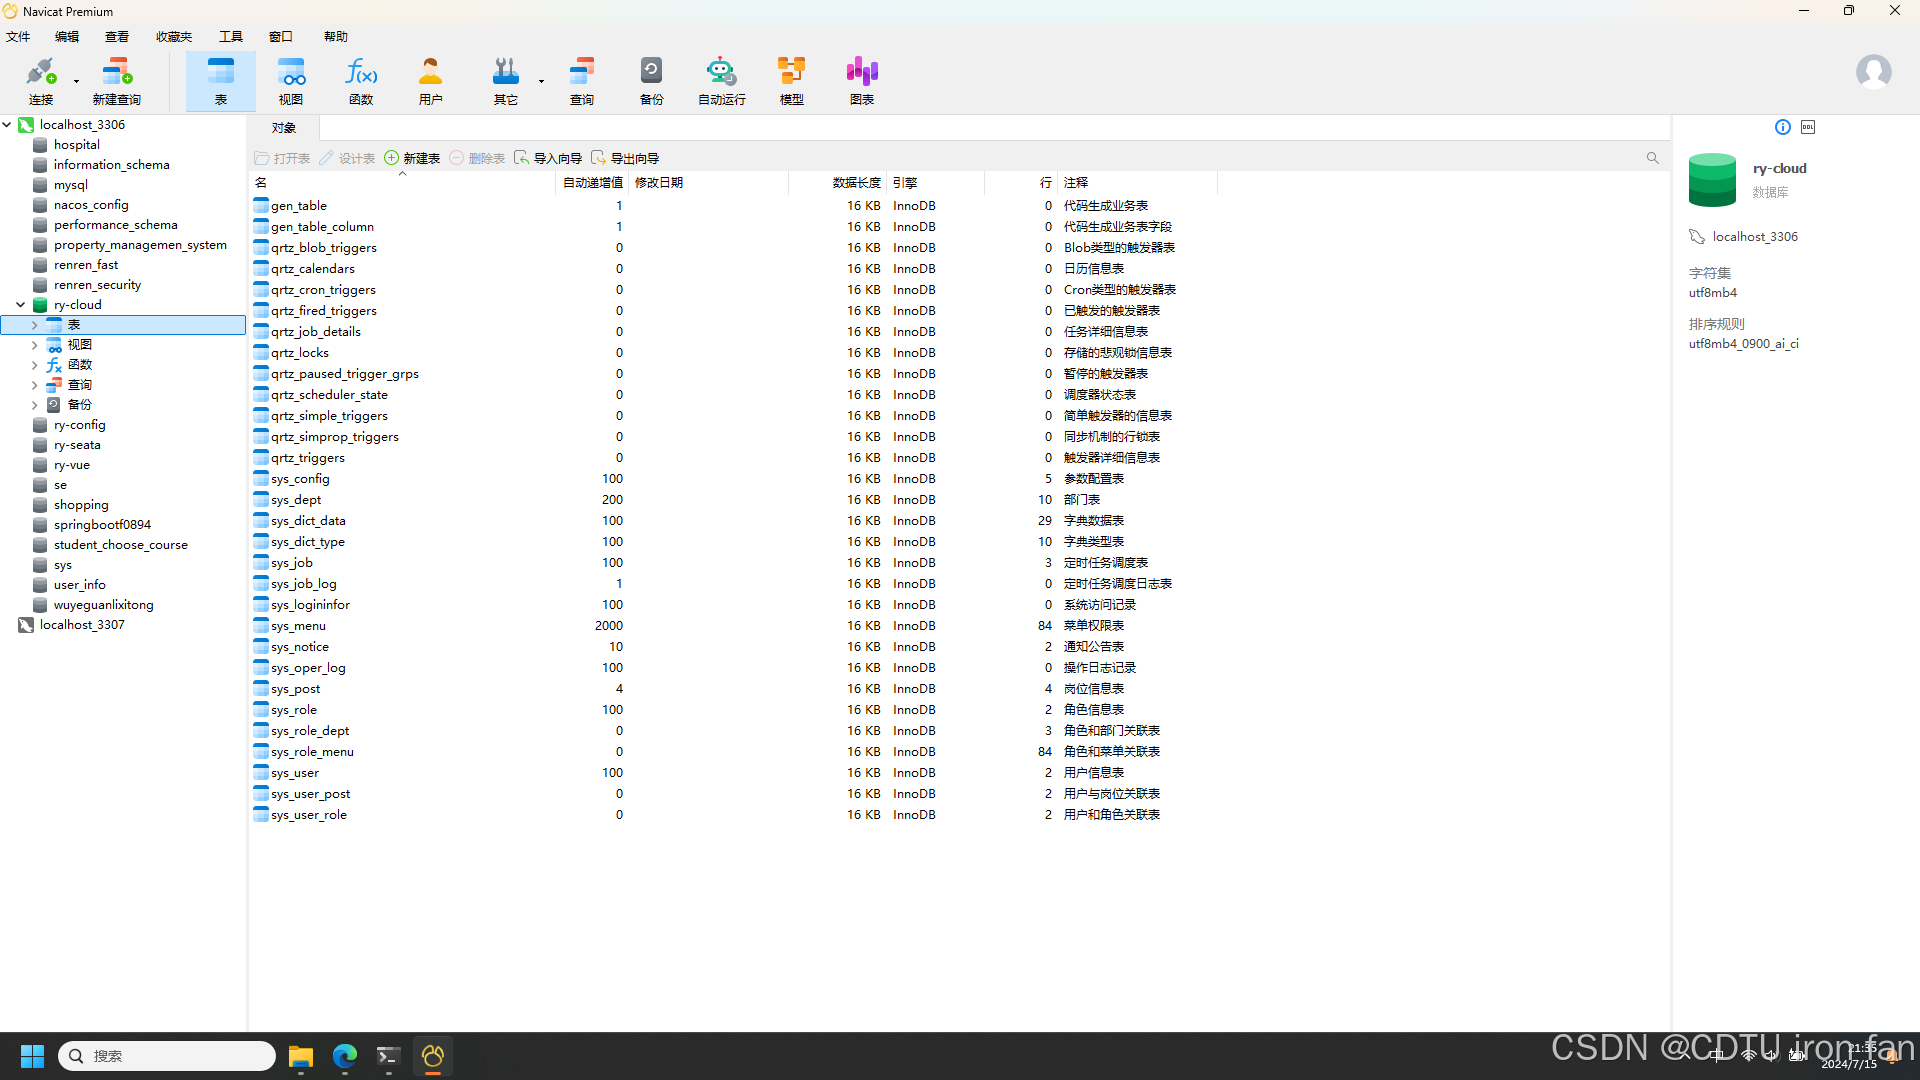
After creating the ry-cloud database, select it and run the SQL files located in the sql folder of the RuoYi-Cloud-master directory. There are four SQL files to execute.
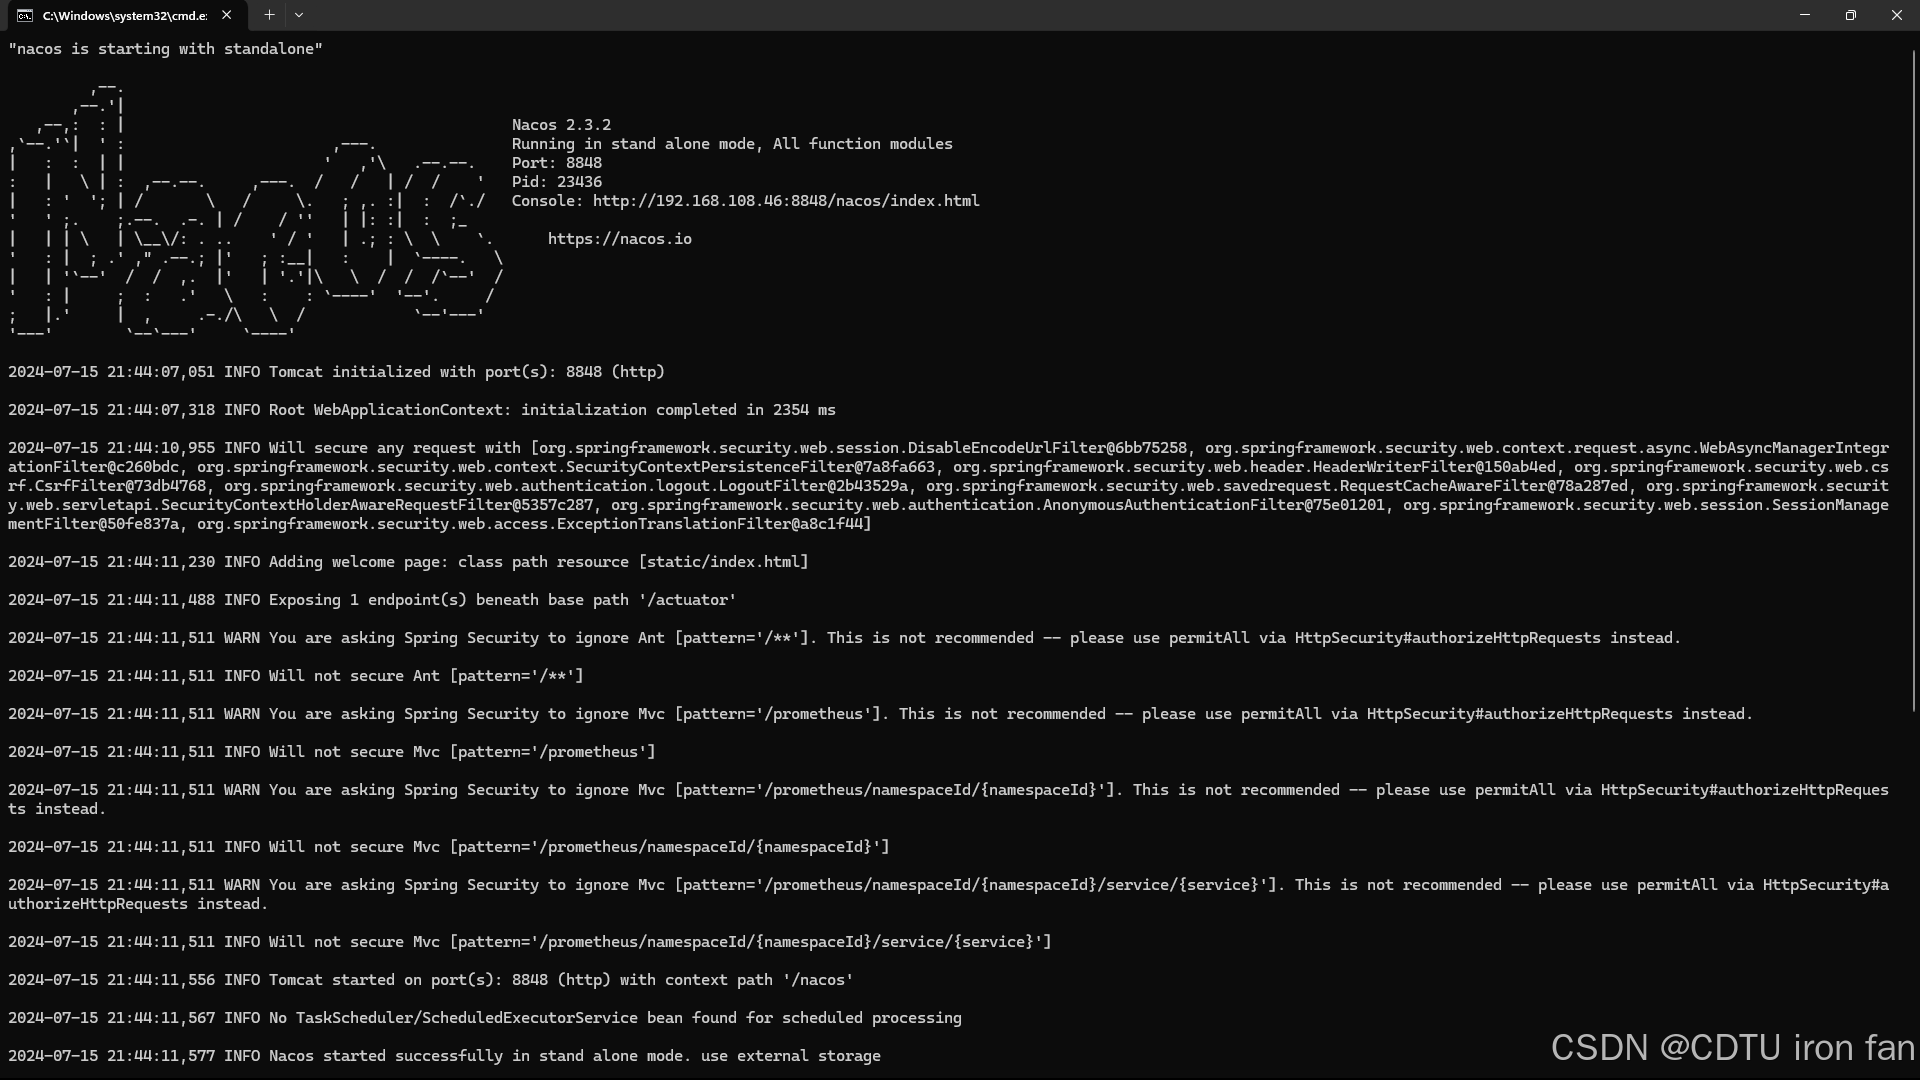
4. Start Nacos
a. Modify application.properties
Edit the file at nacos/conf/application.properties. Uncomment lines 34-45 and update them as follows:
spring.datasource.platform=mysql
spring.sql.init.platform=mysql
db.num=1
db.url.0=jdbc:mysql://127.0.0.1:3306/ry-config?characterEncoding=utf8&connectTimeout=1000&socketTimeout=30000&autoReconnect=true&useUnicode=true&useSSL=false&serverTimezone=UTC
db.user.0=root
db.password.0=123456
Modify line 145, lines 155-156, and line 163 as shown:
nacos.core.auth.enabled=true
nacos.core.auth.server.identity.key=nacos
nacos.core.auth.server.identity.value=nacos
nacos.core.auth.plugin.nacos.token.secret.key=SecretKey012345678901234567890123456789012345678901234567890123456789
b. Start Nacos
Run nacos/bin/startup.cmd.
5. Open IDEA
Open the RuoYi-Cloud-master project in IntelliJ IDEA (Community Edition users need to install the Spring Boot Helper plugin first).
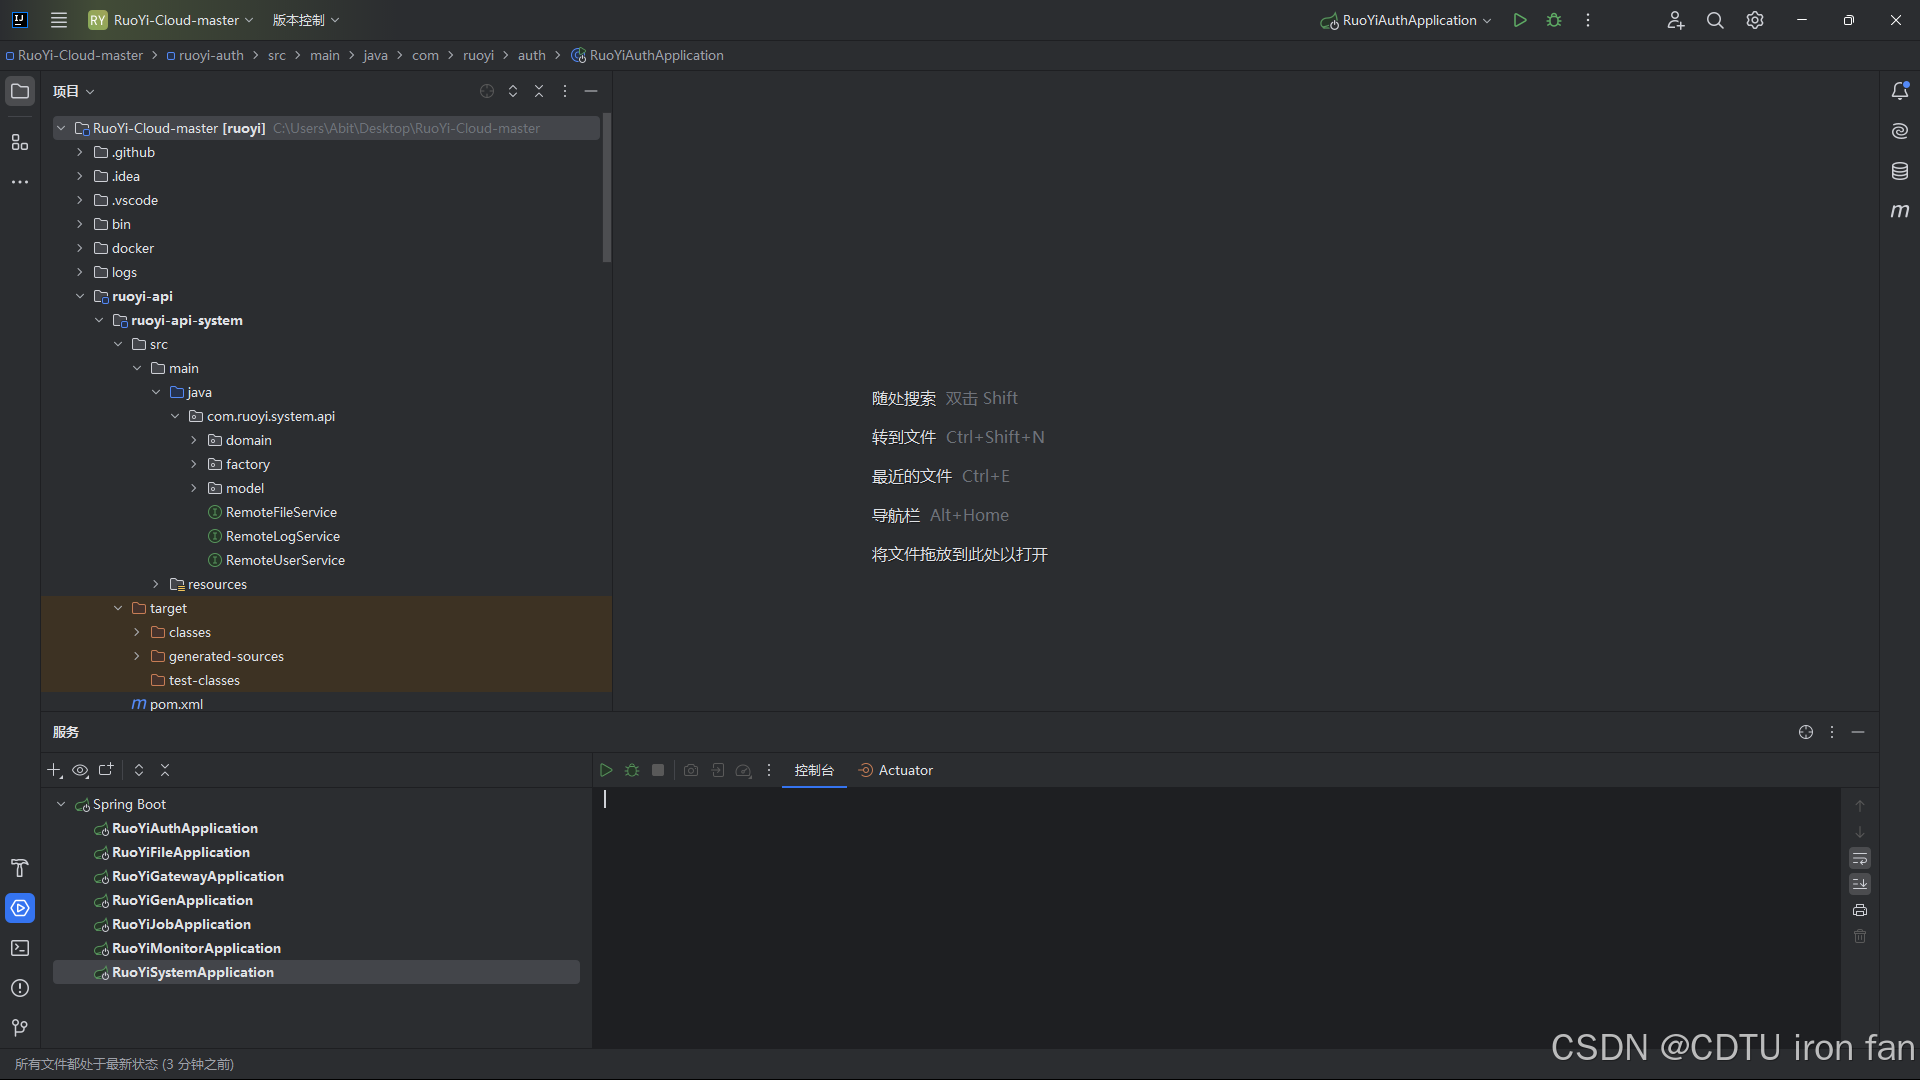
Run the Spring Boot application.
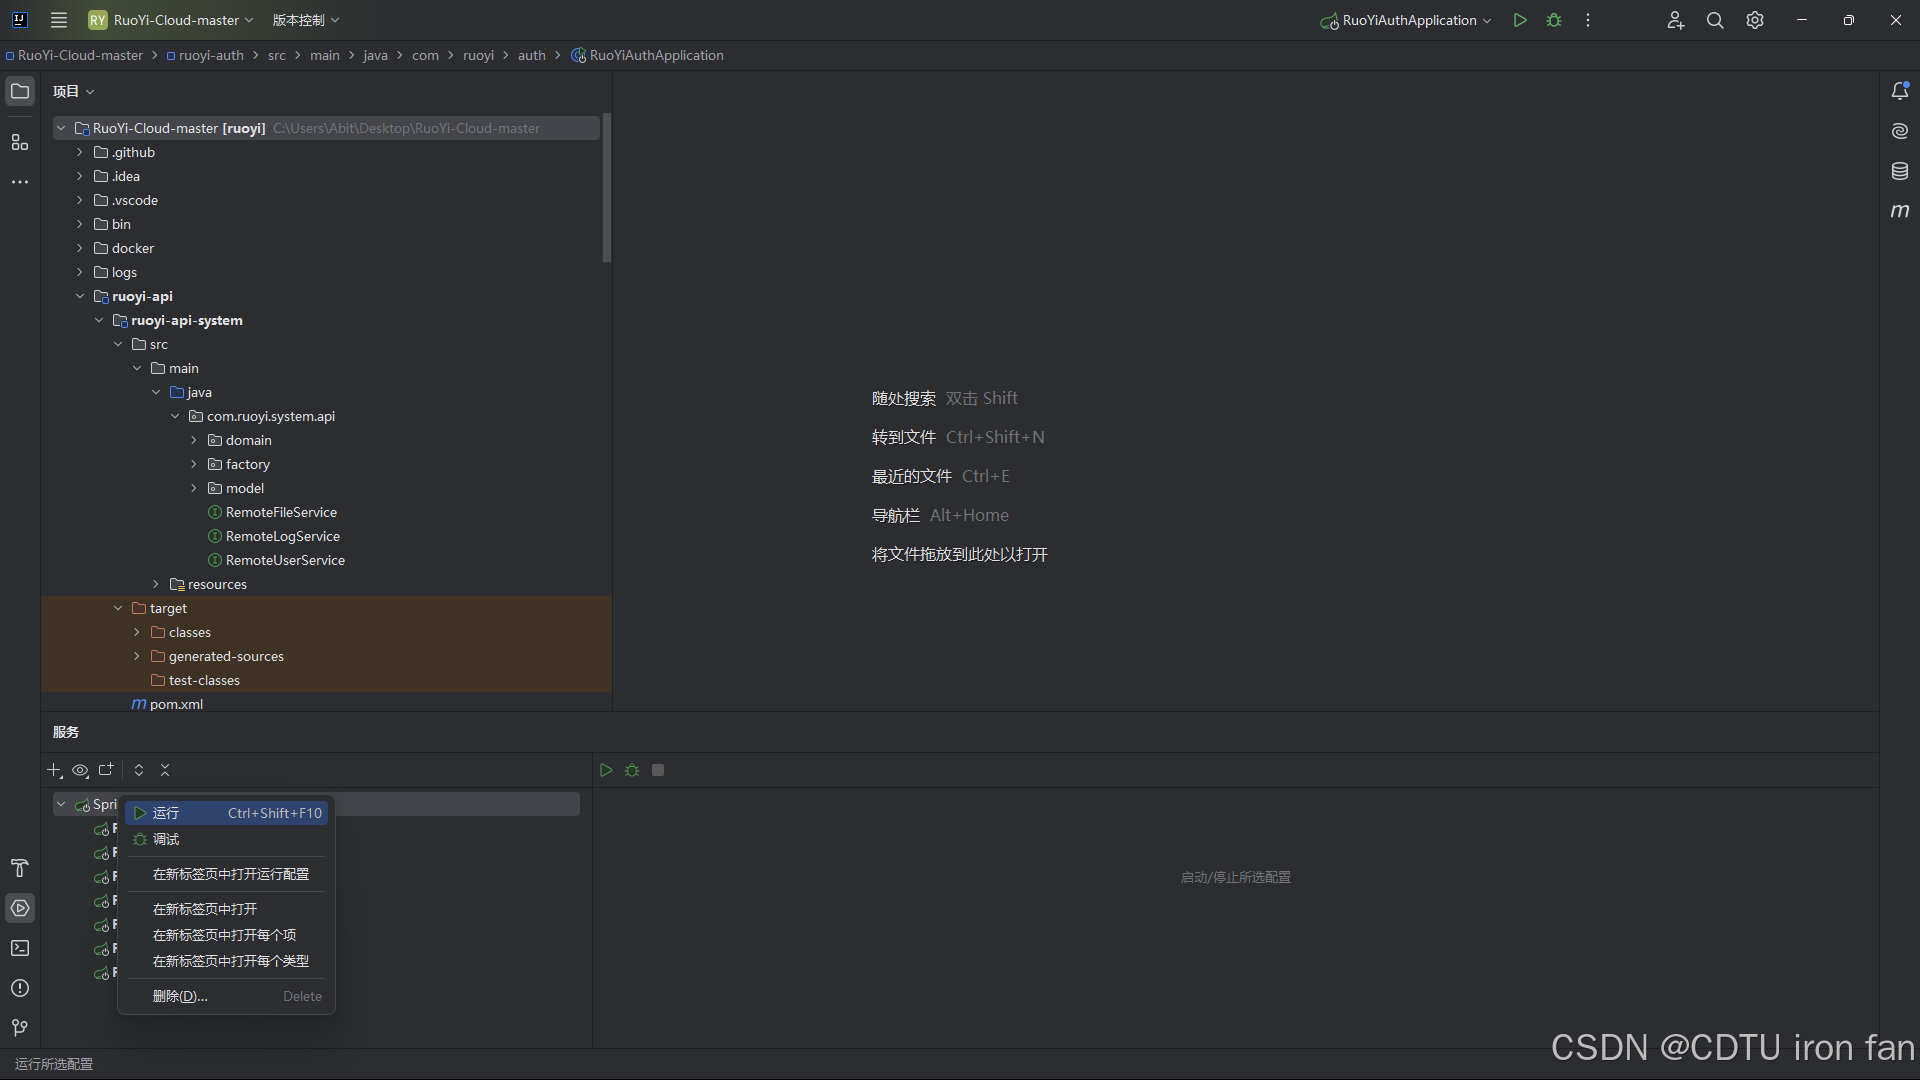
6. IDEA Runs Successfully
If everything is configured correctly, the console will show a successful startup.
7. Open VS Code
Open the RuoYi-Cloud-master folder in Visual Studio Code.
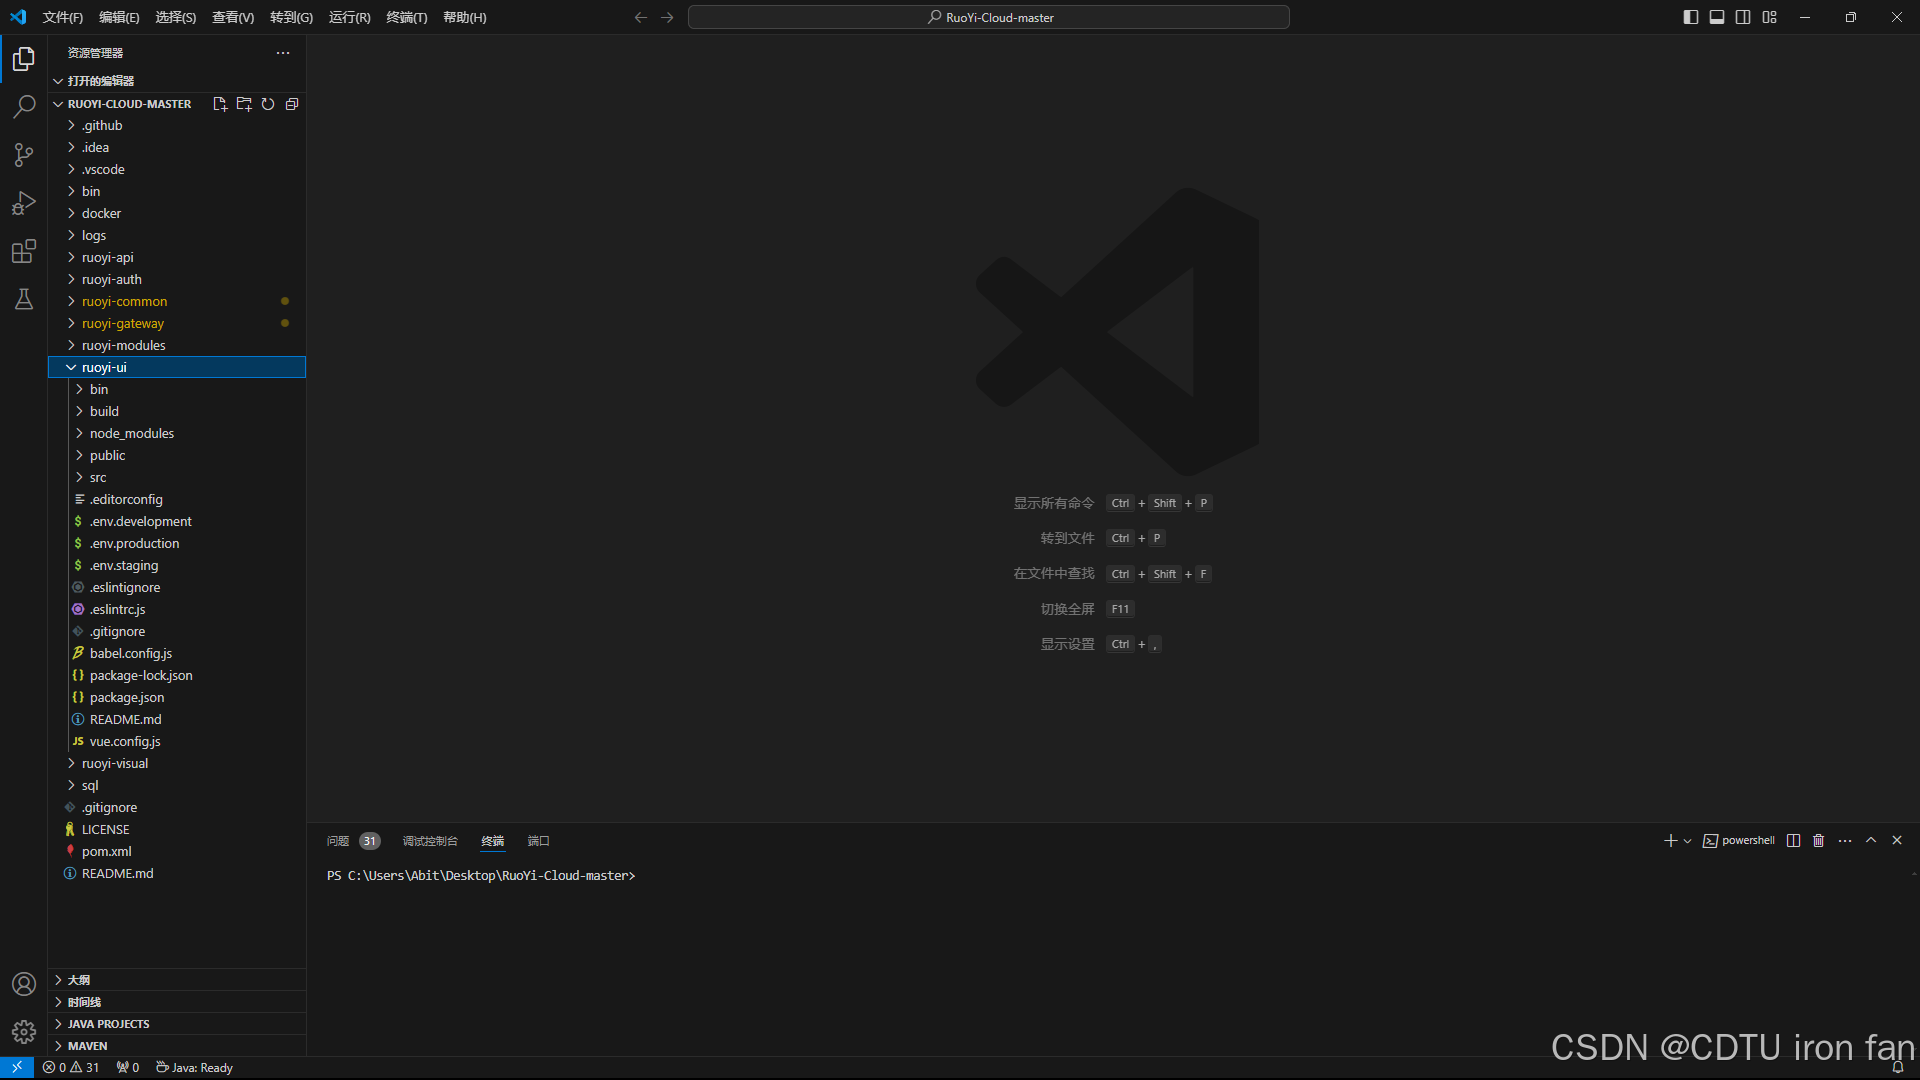
8. Execute Commands in Terminal
Open a new terminal in VS Code (Terminal > New Terminal) and run the following commands sequentially:
cd ruoyi-ui
npm install --registry=https://registry.npmmirror.com
npm run dev
9. VS Code Runs Successfully
After running the commands, the terminal will display a successful build, and a browser tab should open automatically.
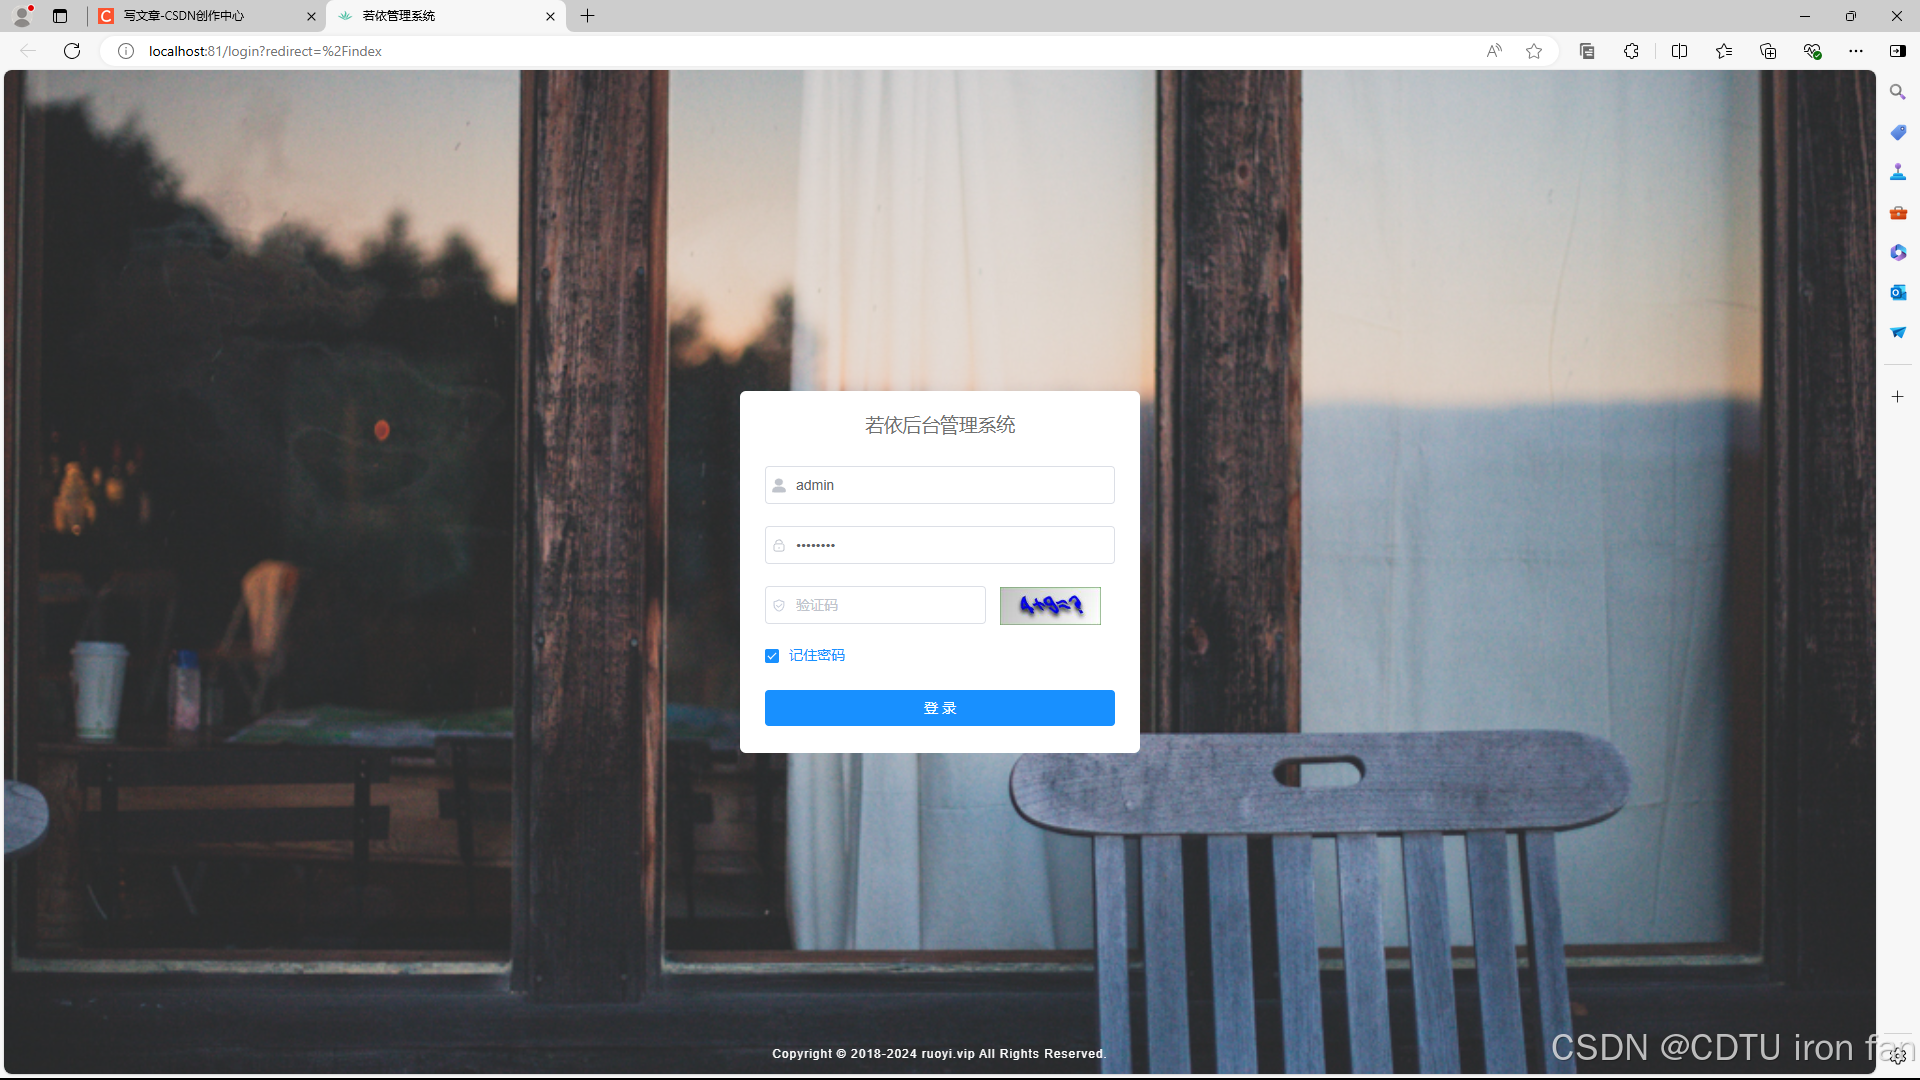
10. Project Runs Successfully
Enter the captcha and click login. If successful, you'll see the main dashboard.
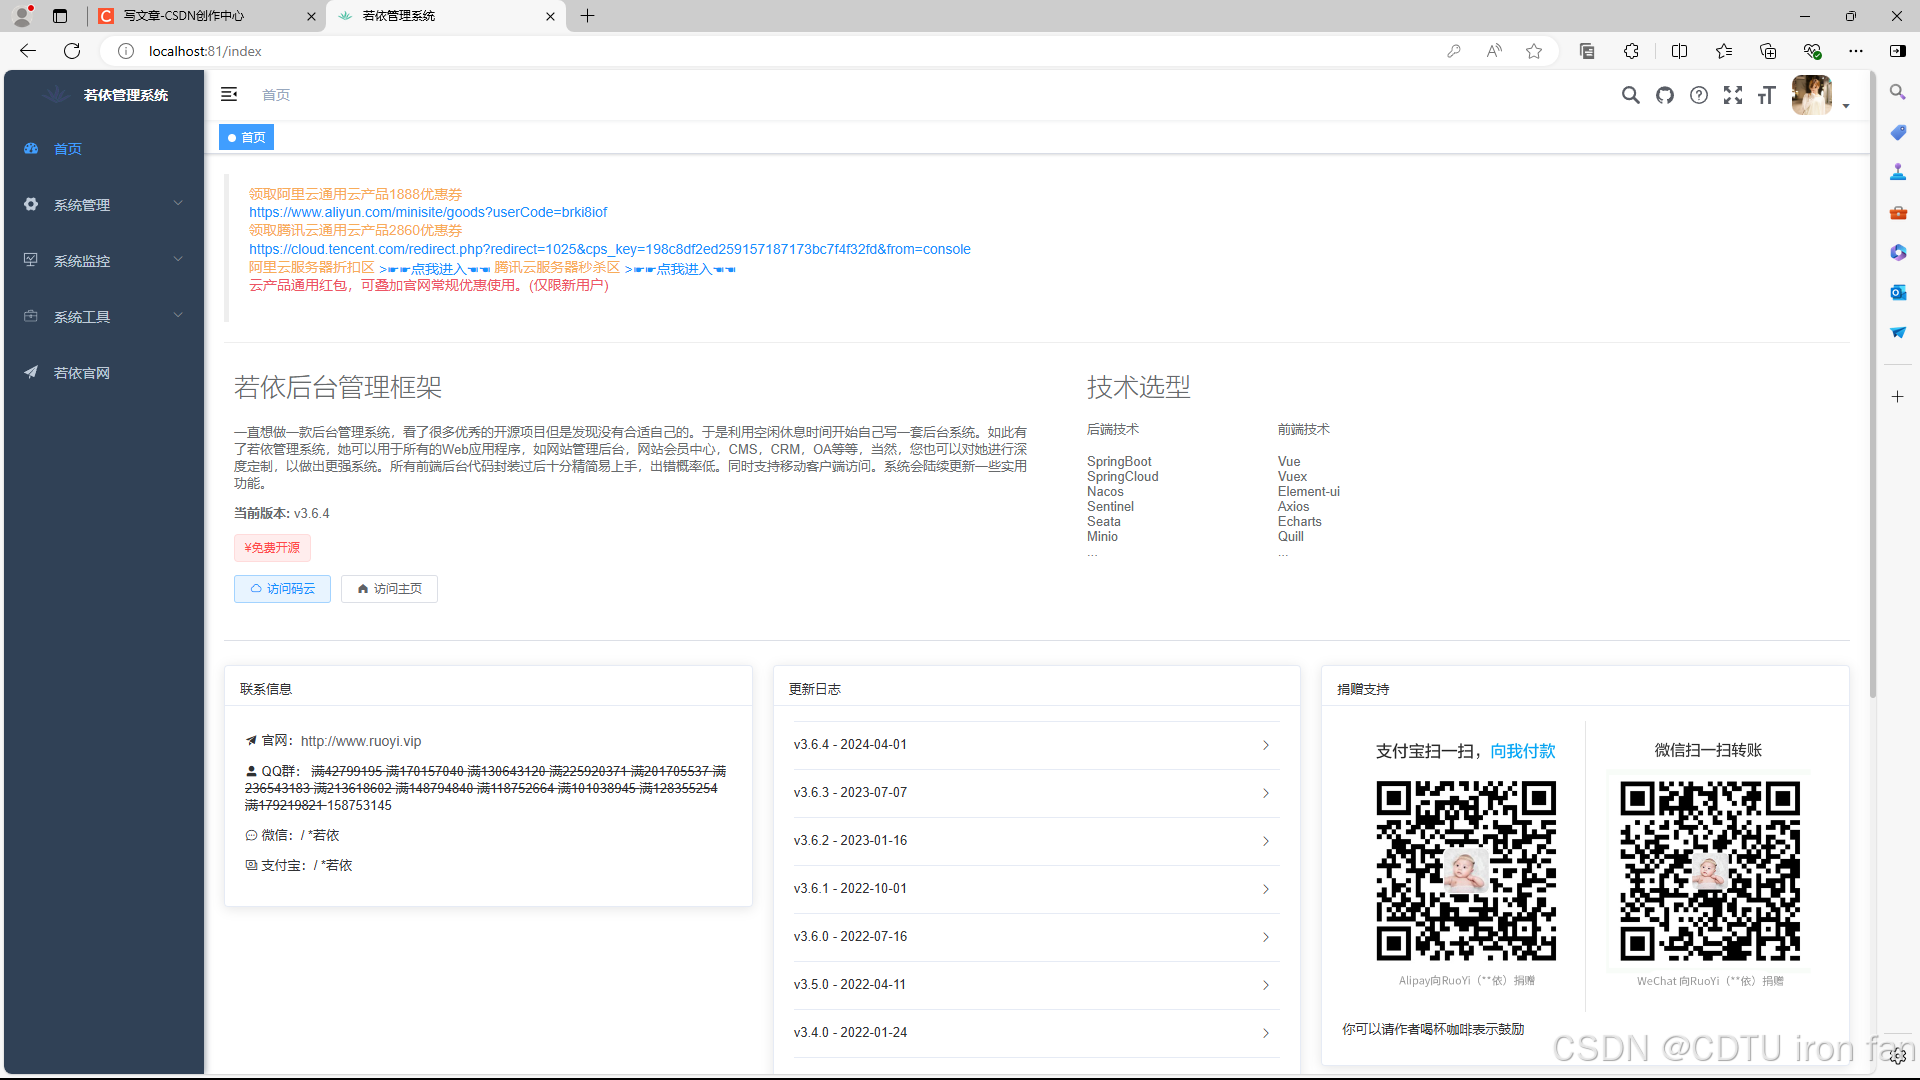
Troubleshooting
Errors in IDEA
- Redis not running: Ensure
redis-server.exeis running. Restart it if necessary. - Maven issues: Verify Maven configuration (version, path) in IDEA settings. Reload Maven project if needed.
- Database mismatch: Check that the database connection details in the project match those in Navicat.
Errors in VS Code
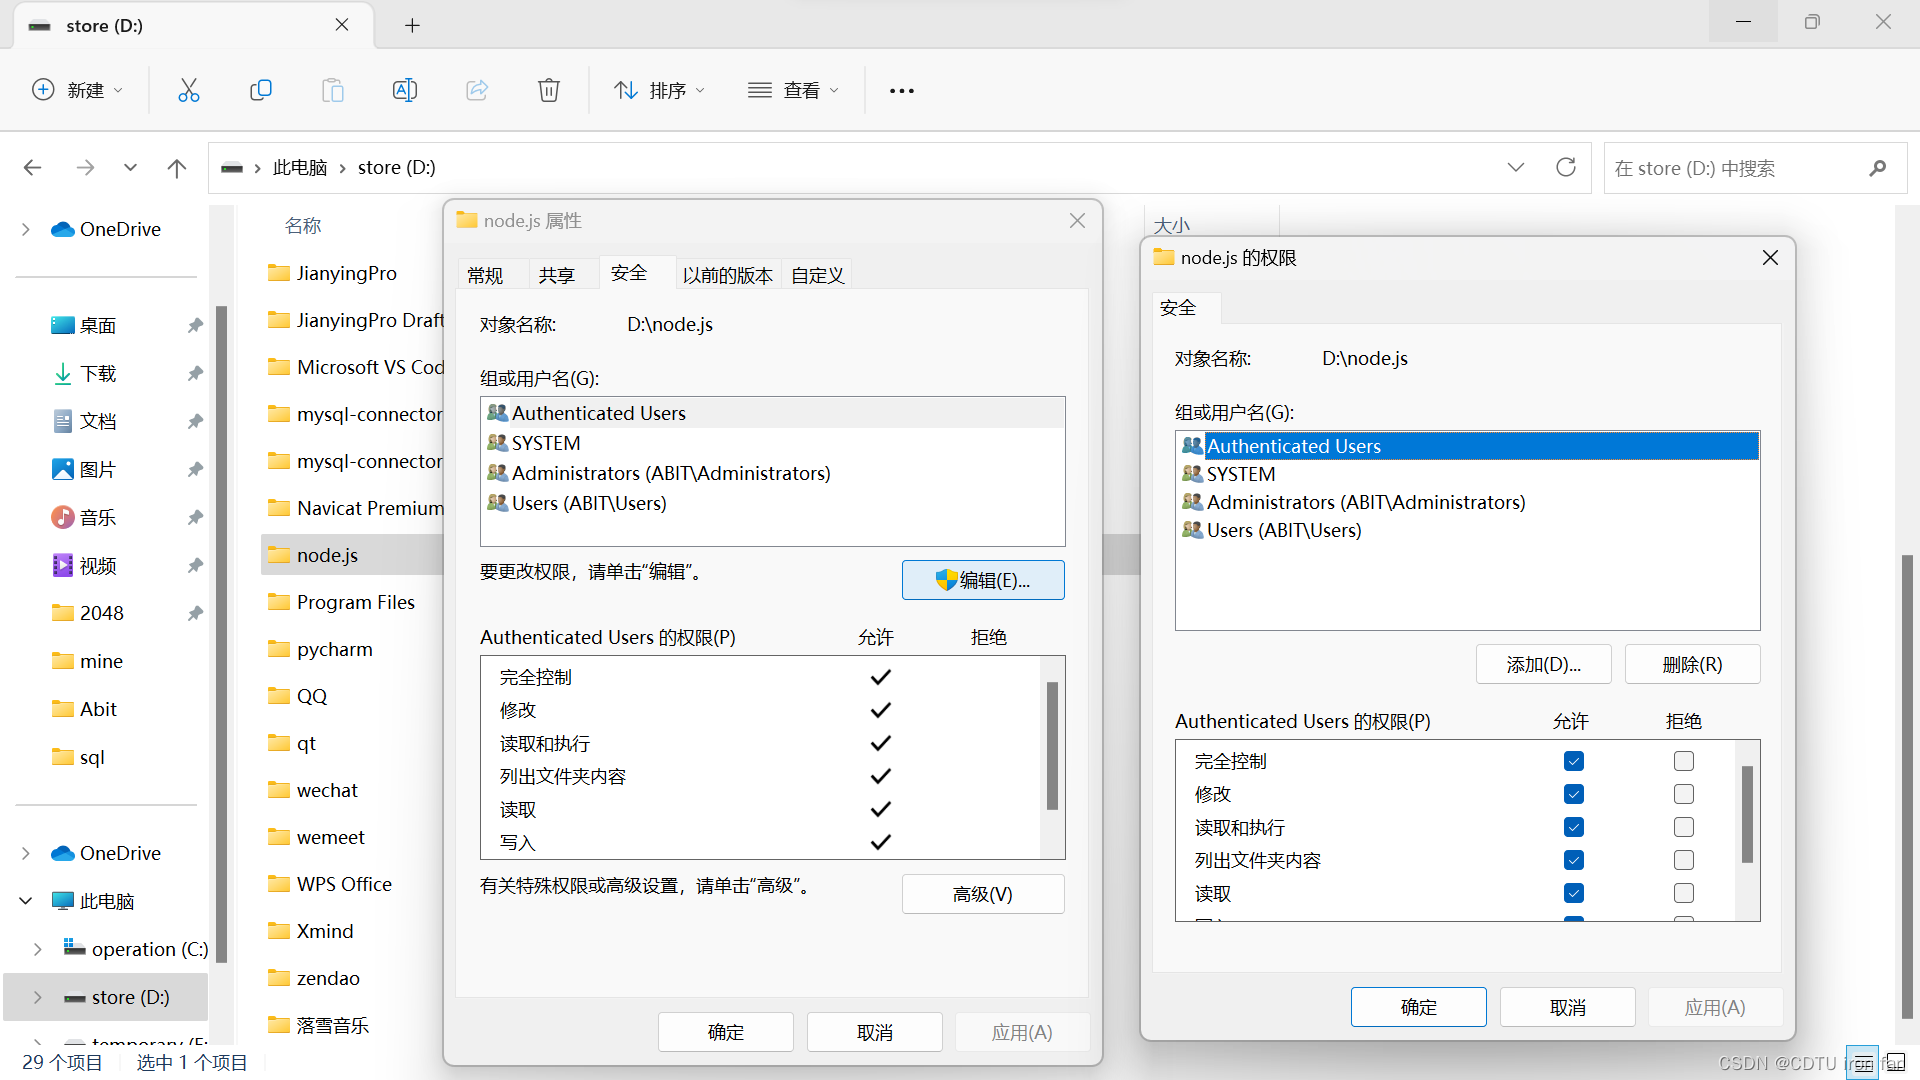
- Permission issues: Navigate to your Node.js installation folder, right-click > Properties > Security > Edit, grant full control, apply, and re-run the terminal commands.
- Port conflict: Close any software occupying the required ports or change the port configuratino in the project.
- Node.js/npm configuratoin: Verify that Node.js and npm paths are correctly set in environment variables.
Browser Errors after Opening
- Backend not running: Ensure both Redis server and IDEA (Spring Boot app) are running.
- Port conflict: Check Task Manager for conflicting ports and close them, or change the port in project settings.
- Modified port parameters: Double-check any changed port configurations in the project.