1. Exporting NAPI Class Objects
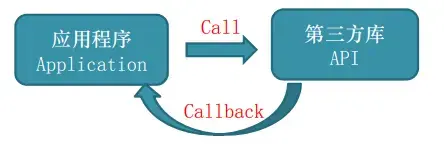
OpenHarmony NAPI provides a way to "wrap" C++ classes and instances sothat JS applications can call constructors, methods, and access properties of those classes.
Node.js Node-API also supports exporting class objects.
1.1. Flow of Exporting Class Objects via NAPI
- Define a JS class using
napi_define_class.- This defines the constructor, static properties, static methods, instance properties, and instance methods that correspond to the C++ class.
- Bind a C++ instance to a JS object using
napi_wrap.- When JS code calls the constructor, the constructor callback uses
napi_wrapto bind a new C++ instance to a JS object and returns it.
- When JS code calls the constructor, the constructor callback uses
- Retrieve the C++ instance from the JS object using
napi_unwrap.- When JS calls a method or accesses a property of the C++ class, it triggers the corresponding
napi_callbackC++ function. Inside that callback,napi_unwrapis used to get the C++ instance that is the target of the call.
- When JS calls a method or accesses a property of the C++ class, it triggers the corresponding
Note: The
napi_callbackC++ function refers to the C++ function that is called by the Node.js Node-API.
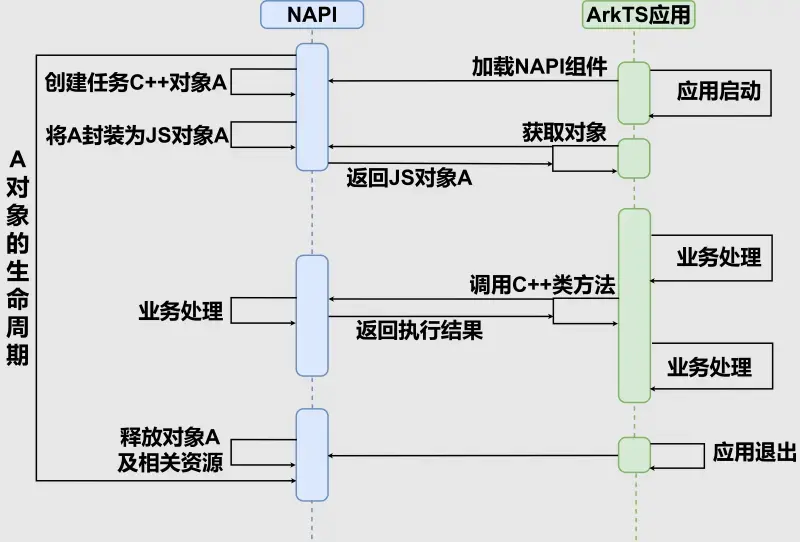
2. NAPI Object Lifecycle
The lifecycle of a program refers to the entire process from start to execution to termination.
Similarly, the lifecycle of a NAPI object represents the entire process from its creation to its release, as illustrated below:
- When an ArkTS application starts, it loads the NAPI module. During the loading of the NAPI module, an object A is created for use by the application. Before the application exits or explicitly releases object A, object A must remain "active". The entire process from the creation of object A to its release represents its lifecycle.
Here is the explanation from Node-API regarding object lifecycle:
- When calling Node-API, the underlying VM may return handles to objects on the heap in the form of
napi_values. These handles must keep the object "alive" as long as the native code still needs them.
3. Sample Project for This Article
A sample NAPI project developed with IDE is provided to help learn NAPI class object export and object lifecycle management.
Test Environment:
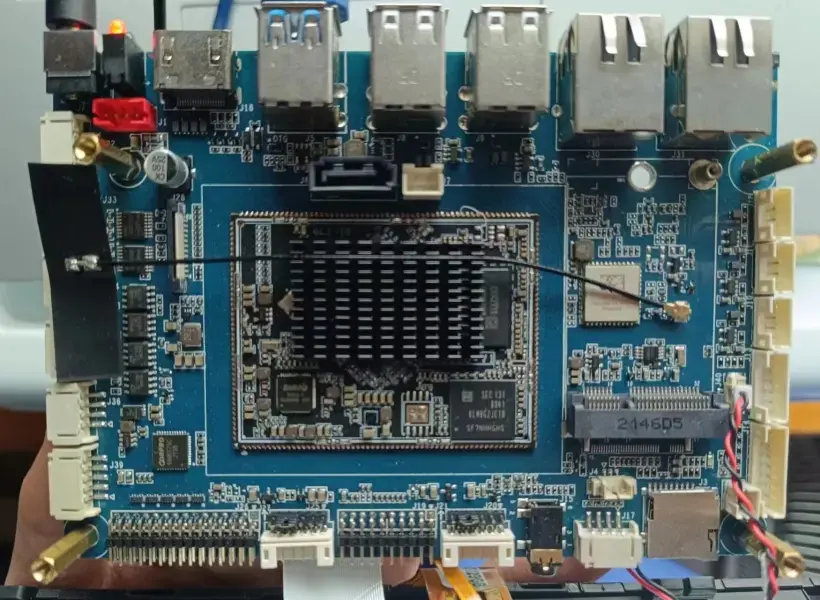
- Board: IDO-EVB3568-V1 (Sensory Intelligence)
- OS: OpenHarmony 3.2 Beta2
- IDE: DevEco Studio 3.1.0.100
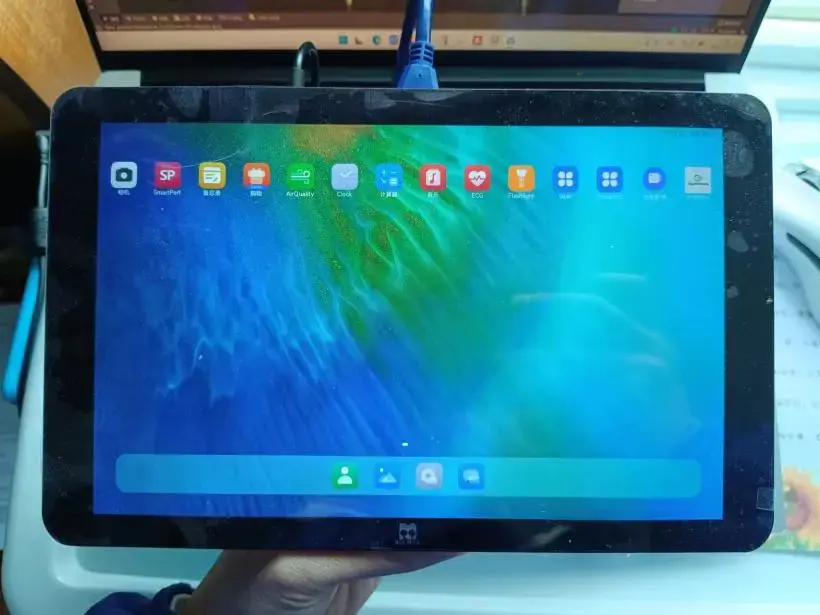
3.1. IDO-EVB3568-V1 Development Board
The IDO-EVB3568-V1 development board (rk3568) was purchased online in August of last year. The package included: 4GB+32GB board, a 10.1-inch MIPI screen, a power adapter, and a USB debugger (not needed for OpenHarmony development) for a total of ¥739. This board offers exceptional value for learning OpenHarmony standard systems.
Sensory Intelligence has been consistently adapting the latest OpenHarmony versions for the IDO-EVB3568-V1 board. For example, when Beta5 was released on February 1st, a compatible image for the board (both MIPI and HDMI versions) was promptly made available, providing a positive user experience.
3.2. Running the Sample Project
-
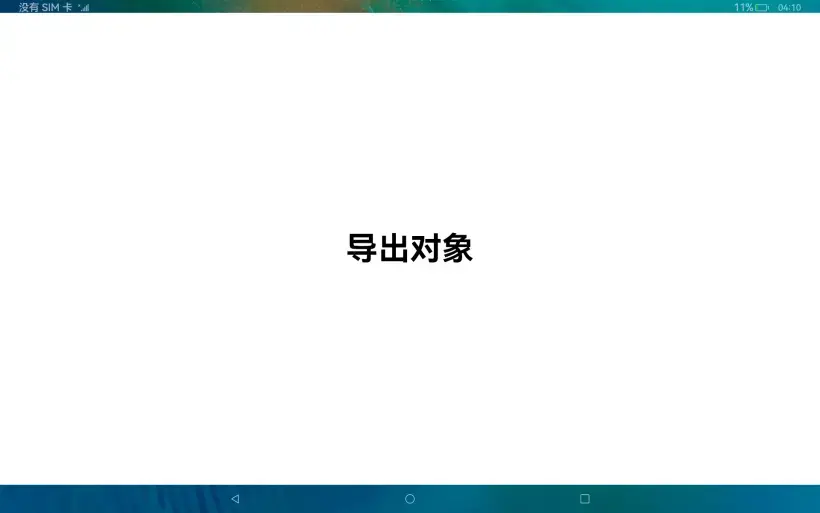
After installing and running the sample, the display on the IDO-EVB3568-V1 board shows:
The following image are captured using the built-in screenshot function of OpenHarmony. The screenshot files are located in these directories:
/data/service/el2/100/hmdfs/account/files/Pictures/Screenshots//storage/media/100/local/files/Pictures/Screenshots//mnt/hmdfs/100/account/device_view/local/files/Pictures/Screenshots//mnt/hmdfs/100/account/merge_view/files/Pictures/Screenshots/Then they are exported to a PC using thehdctool. -
Click the "Export Object" button in the center, and the corresponding debug information will appear in the Log window of DevEco Studio on the PC.
- System debug information can also be viewed in the HiLog window. However, due to the large amount of information, you can set a filter keyword (e.g.,
NapiTest) to display only relevant logs.
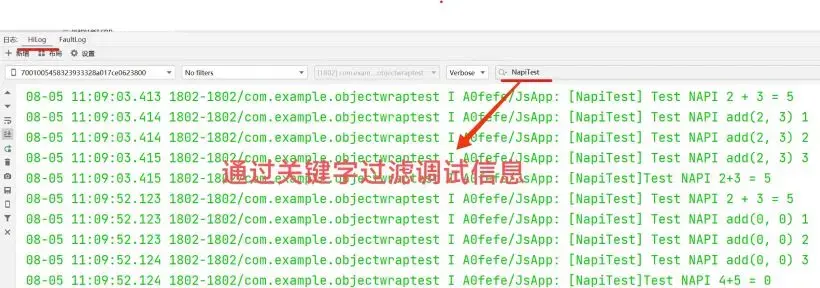
Debug output:
08-05 11:09:03.413 1802-1802/com.example.objectwraptest I A0fefe/JsApp: [NapiTest] Test NAPI 2 + 3 = 5 08-05 11:09:03.414 1802-1802/com.example.objectwraptest I A0fefe/JsApp: [NapiTest] Test NAPI add(2, 3) 1 08-05 11:09:03.414 1802-1802/com.example.objectwraptest I A0fefe/JsApp: [NapiTest] Test NAPI add(2, 3) 2 08-05 11:09:03.415 1802-1802/com.example.objectwraptest I A0fefe/JsApp: [NapiTest] Test NAPI add(2, 3) 3 08-05 11:09:03.415 1802-1802/com.example.objectwraptest I A0fefe/JsApp: [NapiTest]Test NAPI 2+3 = 5 08-05 11:09:52.123 1802-1802/com.example.objectwraptest I A0fefe/JsApp: [NapiTest] Test NAPI 2 + 3 = 5 08-05 11:09:52.123 1802-1802/com.example.objectwraptest I A0fefe/JsApp: [NapiTest] Test NAPI add(0, 0) 1 08-05 11:09:52.123 1802-1802/com.example.objectwraptest I A0fefe/JsApp: [NapiTest] Test NAPI add(0, 0) 2 08-05 11:09:52.124 1802-1802/com.example.objectwraptest I A0fefe/JsApp: [NapiTest] Test NAPI add(0, 0) 3 08-05 11:09:52.124 1802-1802/com.example.objectwraptest I A0fefe/JsApp: [NapiTest]Test NAPI 4+5 = 0 - System debug information can also be viewed in the HiLog window. However, due to the large amount of information, you can set a filter keyword (e.g.,
-
Uncomment the following four lines of code in
index.ets: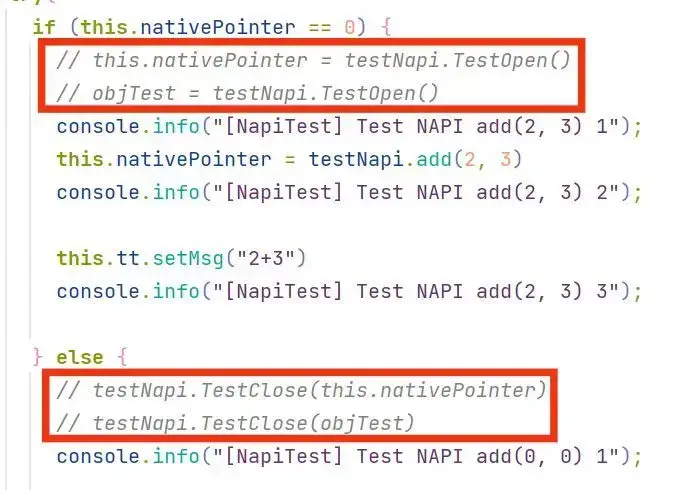
The HiLog window then prints:
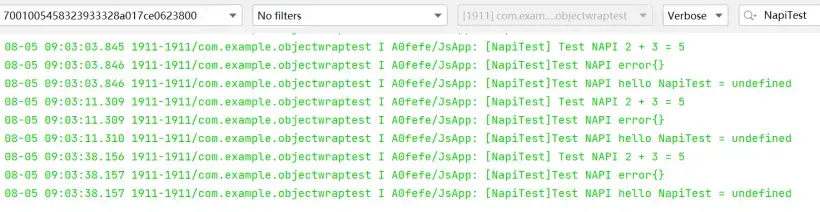
08-05 09:03:38.156 1911-1911/com.example.objectwraptest I A0fefe/JsApp: [NapiTest] Test NAPI 2 + 3 = 5
08-05 09:03:38.157 1911-1911/com.example.objectwraptest I A0fefe/JsApp: [NapiTest]Test NAPI error{}
08-05 09:03:38.157 1911-1911/com.example.objectwraptest I A0fefe/JsApp: [NapiTest]Test NAPI hello NapiTest = undefined
Note:
com.example.objectwraptestin the HiLog messages above is the package name of the sample project, defined inAppScope/app.json5. Other attributes of the sample application HAP can also be defined there.- The
startWindowBackgroundfield inentry/src/main/module.json5can be used to check the color of the transition animation when the application starts, but the actual setting is done in a specific file in the same directory.

- The application name can be found in
entry/src/main/resources/base/element/string.json. - The sample icon can be changed by replacing
entry/src/main/resources/base/media/icon.png(size 114x114 pixels).
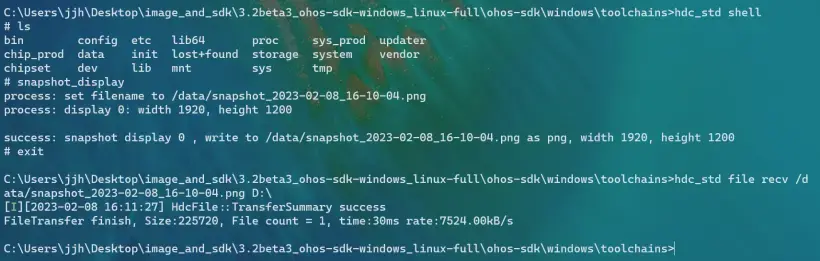
Bonus: Screenshot Commands on OpenHarmony
# Navigate to sdk\version\toolchain, open cmd, then:
hdc_std shell
snapshot_display
# Default save path is /data/
exit
hdc_std file recv <path_to_screenshot_on_device> <path_on_pc>